Basically, we use FTP to upload our files to our server. Microsoft launched WebDeploy feature to help us to upload our application easily. Web Deploy is a useful client-server tool that is used to sync configurations and content to IIS (Internet Information Services). Note that, it acts as an extensible function of Visual Studio tapped by Microsoft to develop serial computer programs.
In this article, we will show you how to deploy your site using WebDeploy tools via Plesk control panel. Ok, here we go and read full article for further information.
NOTE: If you find this article useful, please kindly click button share.
1. Click WebDeploy Feature via Plesk Control Panel
To start with, you should enable “Web Deploy Publishing” function by logging into your control panel. Taking the mostly-used Plesk control panel as an example here, you can simply log onto your hosting account with unique username and password. Upon entering, there will be a list of configuration options, like “Websites and Domains”, “Email”, “Resource Usage”, etc.
To activate your Web Deploy settings on Plesk Control Panel, please click “Hosting Setting” and then tick “Web Deploy Publishing”
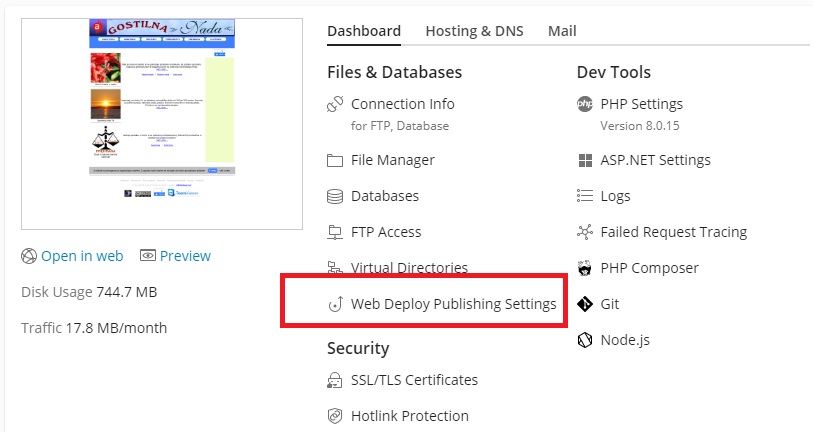
Please also don’t forget to tick WebDeploy publishing settings on your Hosting & DNS section.
2. Open Your Visual Studio
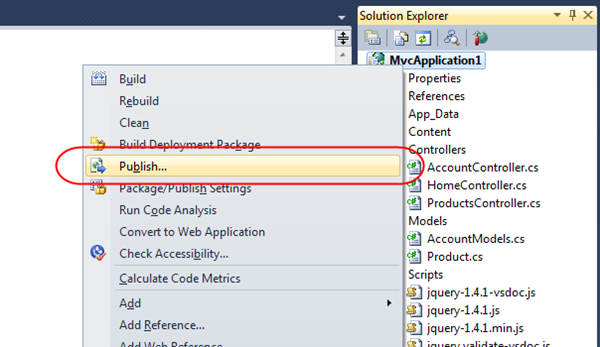
The next step is to login to your Visual Studio application so as to open and edit your publishing project. Right-click this project within the left-side “Solution Explorer” menu. As is displayed, there is a “Publish” option in this drop-down list, and you should make a hit on this option. By the way, it is possible to re-configure your website files from here, including “Content”, “Results”, “Scripts”, etc.
3. Publish Your Website
Once clicked, there will a pop-up “Publish Web” window where you will be shown with multiple options that include “Profile”, “Connection”, “Settings” and “Preview.” Inside the “Profile” tab, you can import your publish profile by clicking the “Import” option. Also, it is possible to use “Custom” settings. If you have the need to import your downloaded publish profile, you will have to click this “Browse” button to select it from the local computer.
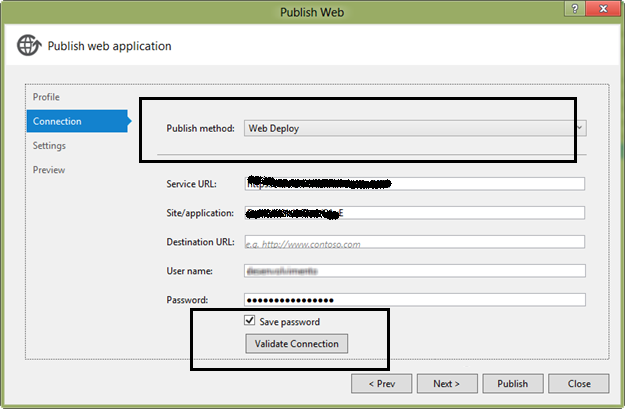
Please choose the “Web Deploy” method here. Given that you’ve imported a publish profile in the last step, the rest of the setting fields will be filled in automatically as below. If not, you would have to input the following details:
Server URL– is where to deploy your application to a hosting provider, the IIS on a local computer or internal server.
Site Name – is where to fill in the name of your IIS web site and application, such as yourdomain.com and yourdomain.com/MyApplication.
User Name & Password – is where to enter your credentials for an account so as to grant authority to perform certain deployment tasks.
Once done all those settings, simply click this “Validate Connection” button to get connected to a server. If there is a “Certificate Error” pop-up, you will need to check whether or not the publishing URL is correct.
4. Configure Your Settings
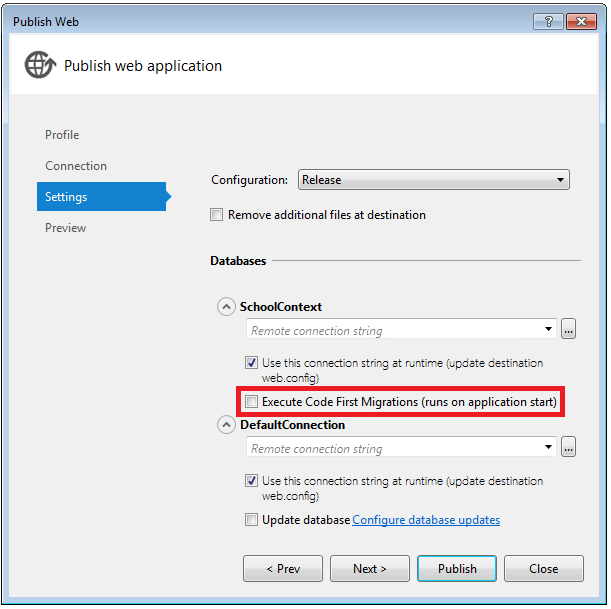
In the next “Settings” tab, you should choose the “Release” publish method in the drop-down “Configuration” list. Beware that, the “Debug” method can be chosen only if you want to deploy to a test environment. Besides that, you also need to define the “File Publish” Options. Each option is quite self-explanatory, and you can check the correspondent box as you like.
5. Done and Publish Your Project
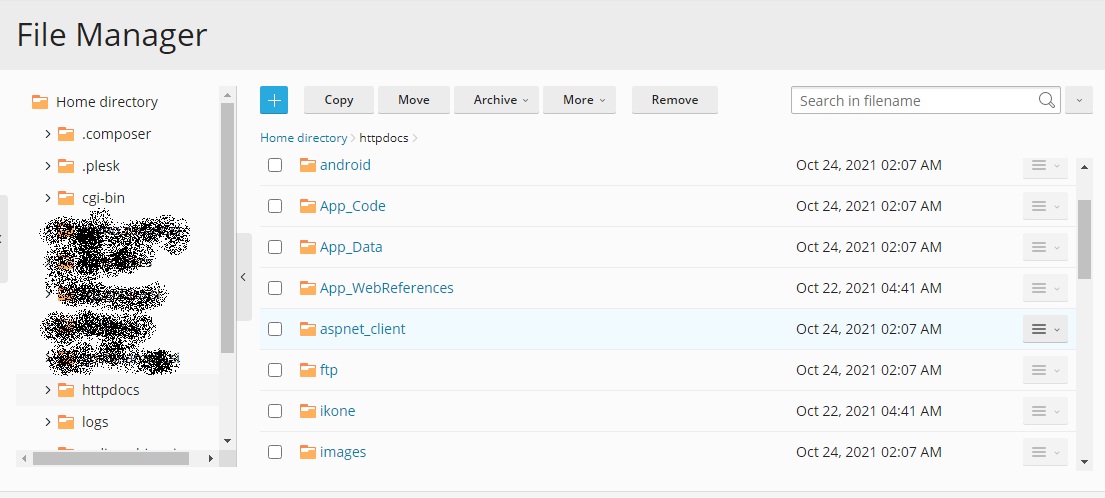
Once you have completed above steps, then you can preview your settings again and then you can publish your files. It takes a while to accomplish the whole publishing process, and you can check whether deployment is successful in the “Output” window of Visual Studio. Alternatively, you can choose to go back to the Plesk Control Panel and navigate to “File Manager” > “YourSiteURL.”
Conclusion
We hope article above give you clear explanation about how to use WebDeploy on Plesk control panel. Hope you enjoy the article and we will back with other great tutorial.


Yury Sobolev is Full Stack Software Developer by passion and profession working on Microsoft ASP.NET Core. Also he has hands-on experience on working with Angular, Backbone, React, ASP.NET Core Web API, Restful Web Services, WCF, SQL Server.