
In previous post, we have explained for you how to publish Asp.net core Blazor in IIS. In this article we will see further how to use IronPDF in Blazor Server Apps.
IronPDF: .NET PDF Library
IronPDF.NET is a .NET library for generating PDF documents and manipulating existing ones. It has a set of APIs to generate PDF documents in different ways – from rendering an existing HTML page to converting an image format to PDF. I have found to read, create & export PDFs from within Blazor Server Hosting Model Apps.
IronPDF supports the latest .NET Core version. It also supports the Blazor project type. In this article, we’ll see how we can create PDFs in Blazor server apps using IronPDF.
Generate PDF in Blazor Server Apps
Let’s see how Blazor server Apps work. I’ll use the IronPDF library for generating PDFs in the Blazor server hosting model application. Let’s see how to do it.
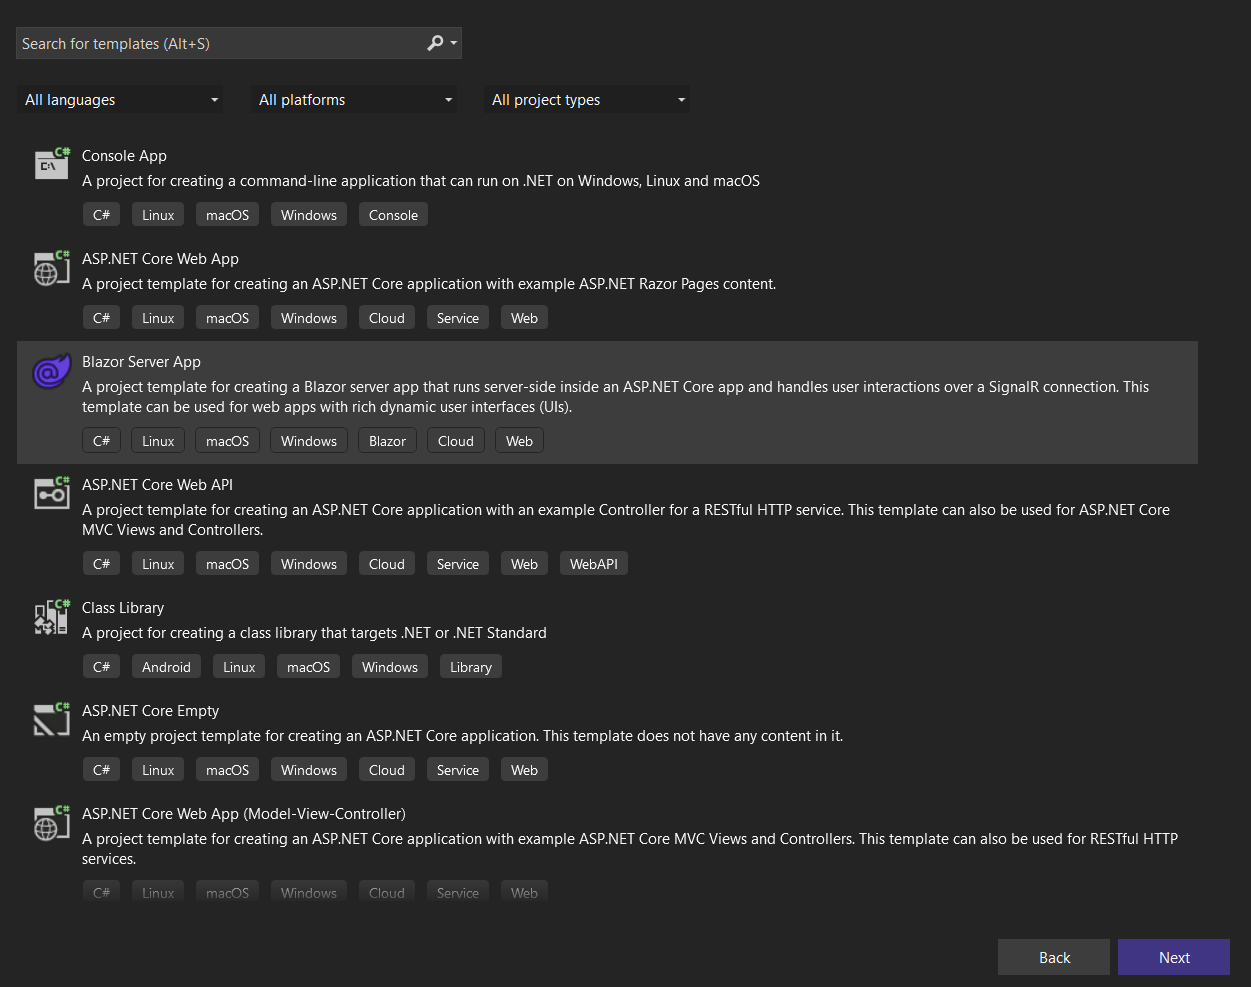
Step 1: Creating Blazor Server App
Open visual studio and search for Blazor Server App in Application templates. Select it and hit the next button.
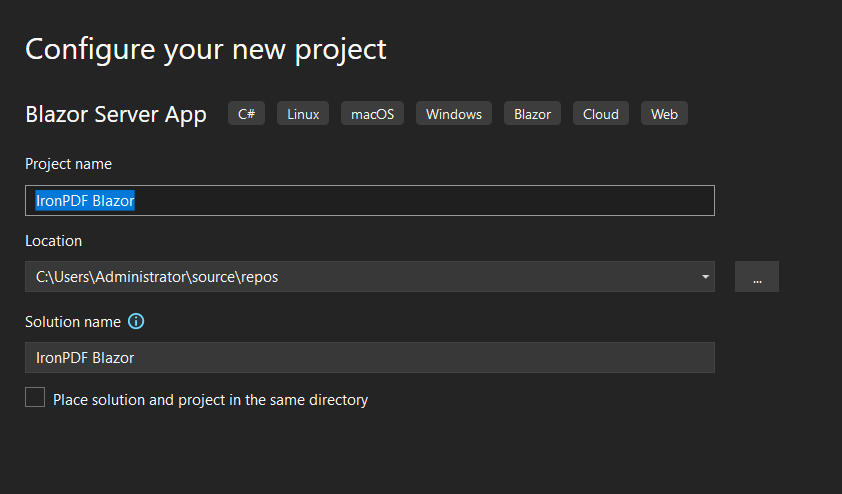
Now give the proper name to the project and click the “next” button.
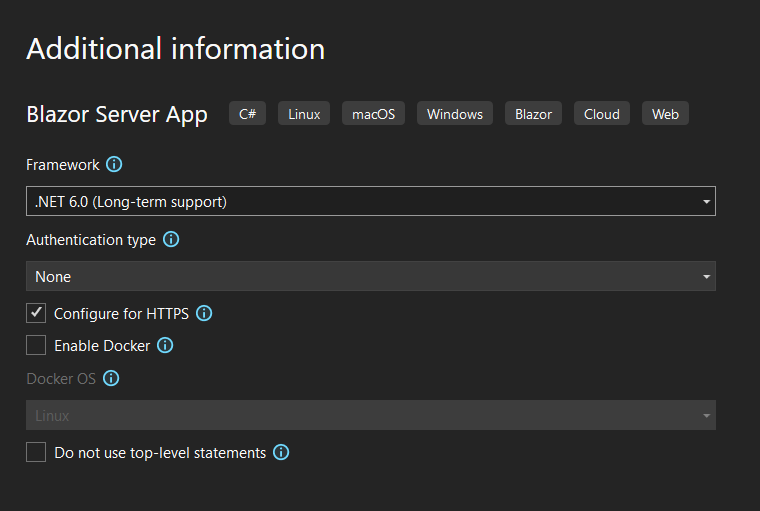
Select the latest .NET Core framework. You can choose any version according to your requirement but the latest version is recommended. After selecting the .NET framework, hit Create button. It’ll create a Blazor Server Application.
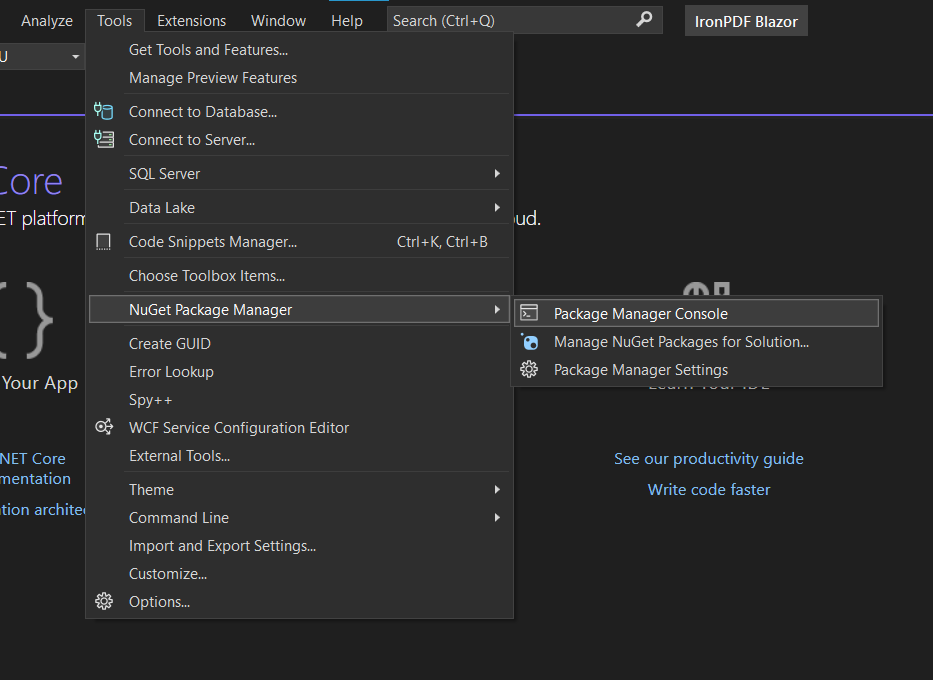
Step 2: Install IronPDF
Now, it’s time to install IronPDF. Go to the tools from the top menu. From the dropdown, hover on “NuGet Package Manager” and from the sub-menu, select “Package Manager Console”. It’ll open the console for installing NuGet packages into your .NET Core project.
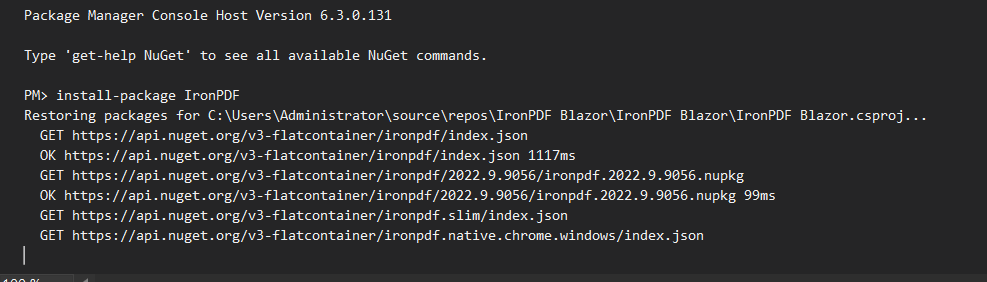
Run the following command in the Package Manager Console.
install-package IronPDFAlternatively use the Nuget Package Manager GUI and search for IronPDF.
This will start installing IronPDF in our project.
Step 3: Create Razor Component
Now create a new Razor component in the “Pages” folder.
Right-click on the “Pages” folder and from the submenu of the “Add” option, select “New Item”. It’ll open a new dialog box.
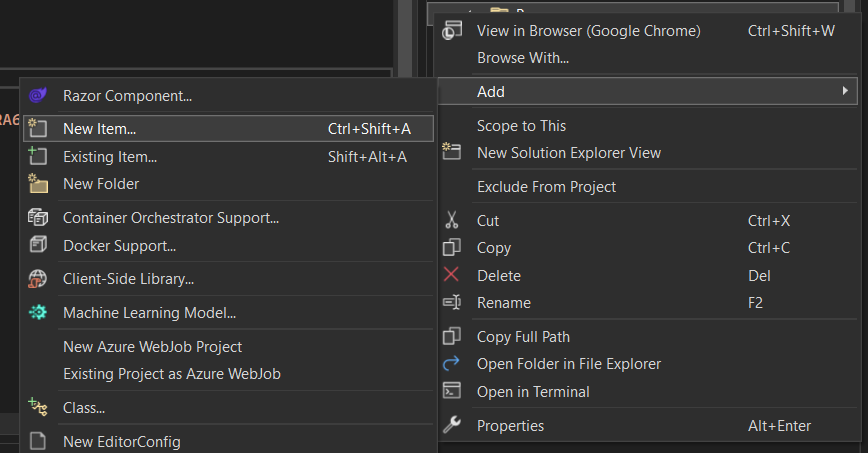
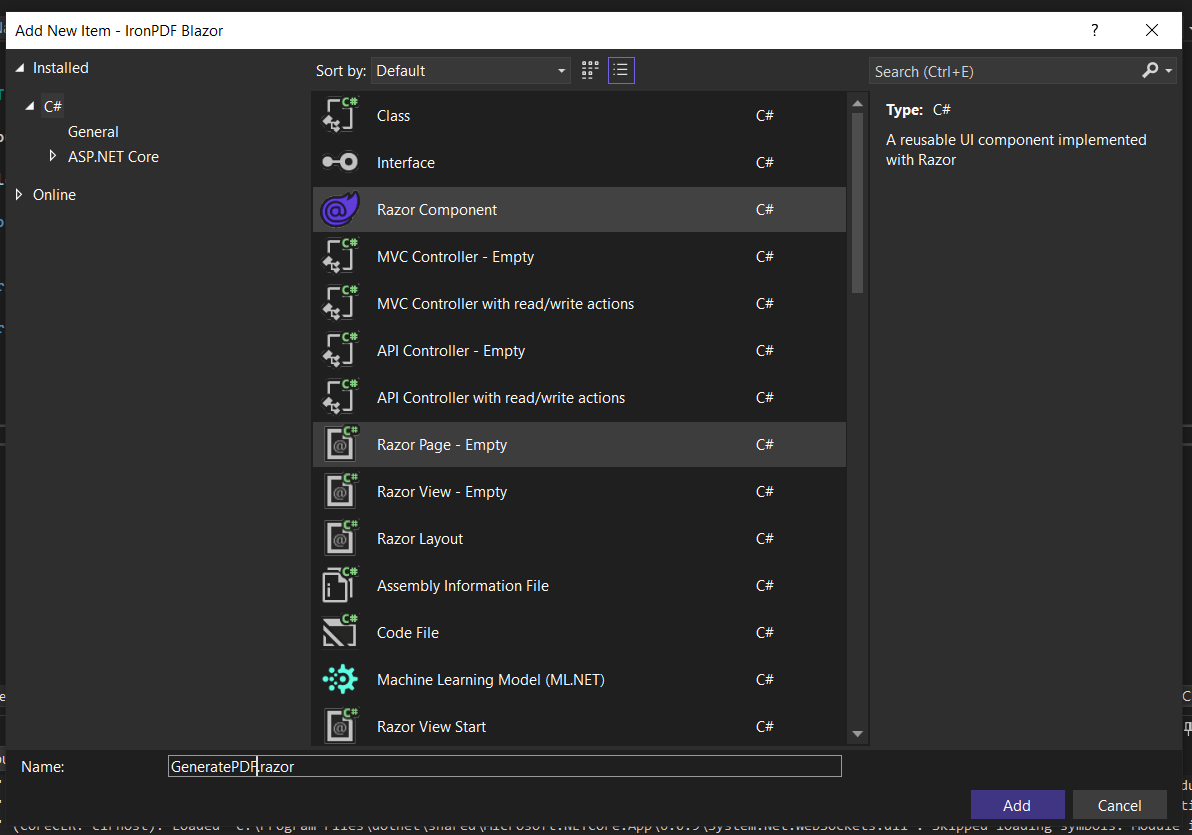
Select Razor Component and put “GeneratePDF” as the name and hit the “Add” button. Razor component will be added in the “Pages” folder.
Now open “GeneratePDF.razor” and write the following server side code.
At first, I define the page route and provide the name “/pdf”. After that, I inject IJSRuntime JS for saving the generated PDF file. I create the Page Title and heading using HTML tags. After that, I create Textarea and bind it with the variable “htmlString”. I’ll use “htmlString” variable to get the text written in textarea for generating PDF. I’ll define the htmlString variable in the code part later. I create a button and bind it with the CreatePDF function using onclick function. Let’s move to the code part.
In the code, I create the variable name “htmlString”. After that, I create an async function CreatePDF. In function, I initiate “ChromePdfRenderer” and use “RenderHtmlAsPdf” function to convert HTML to PDF. After that, I convert the generated PDF into a stream object for making it a downloadable file and invoke the JS function.
@page "/pdf"

@inject IJSRuntime JS

<PageTitle>Create PDF</PageTitle>

<h1>Create PDF</h1>

<div class="form-outline">
    <textarea class="form-control w-50" id="htmltopdf" rows="8" cols="16" @bind="htmlString"></textarea>
    <button class="btn btn-primary mt-4" @onclick="CreatePDF">Create PDF</button>
</div>

@code {
    private string htmlString { get; set; } = default!;

    private async Task CreatePDF()
    {
        var render = new IronPdf.ChromePdfRenderer();

        var doc = render.RenderHtmlAsPdf(htmlString);

        using var Content = new DotNetStreamReference(stream: doc.Stream);

        await JS.InvokeVoidAsync("SubmitHTML", "ironpdf.pdf", Content);
    }
}
Step 4: JS Code For File Downloading
Write the following JS code at bottom of the “_Layout.cshtml” file. This JS code will help to download the PDF file.
<script>
        window.SubmitHTML = async (fileName, contentStreamReference) => {
                const arrayBuffer = await contentStreamReference.arrayBuffer();
                const blob = new Blob([arrayBuffer]);
                const url = URL.createObjectURL(blob);
                const anchorElement = document.createElement('a');
                anchorElement.href = url;
                anchorElement.download = fileName ?? '';
                anchorElement.click();
                anchorElement.remove();
                URL.revokeObjectURL(url);
        }
</script>
}
Step 5: Add PDF Generate Page in NavBar
Now add the following code in “NavMenu.razor” to add a nav menu to access our GeneratePDF page.
<div class="nav-item px-3">
        <NavLink class="nav-link" href="pdf">
                <span class="oi oi-list-rich" aria-hidden="true"></span> PDF
        </NavLink>
</div>
Step 6: Run The Blazor Server App
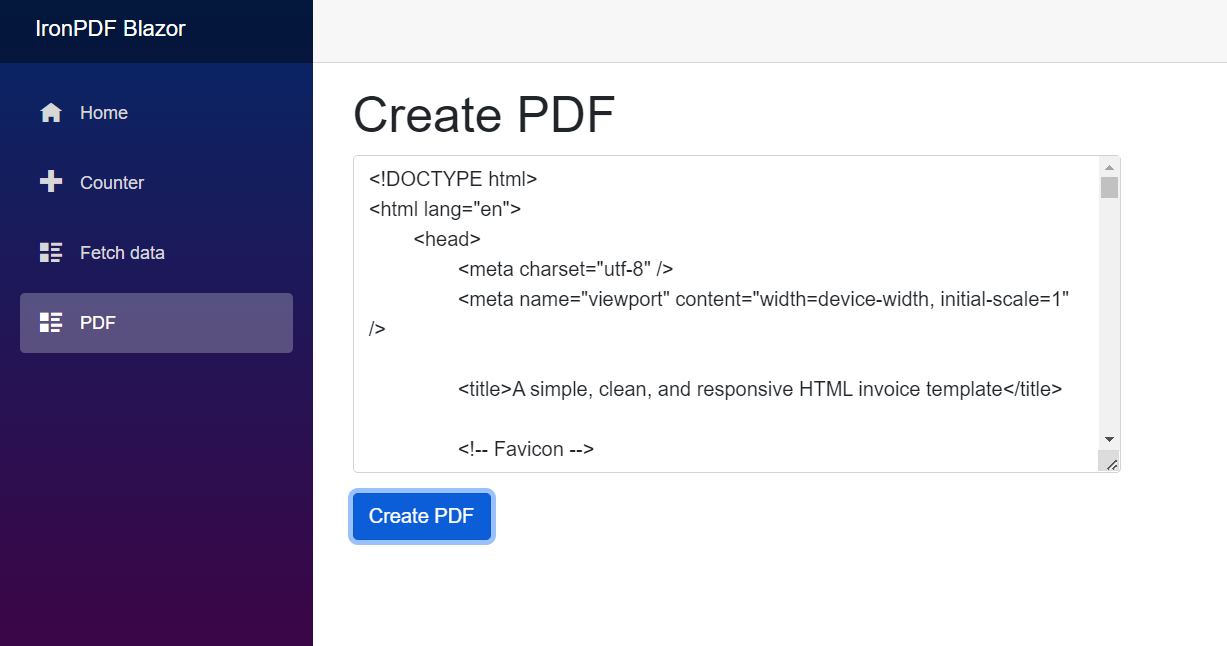
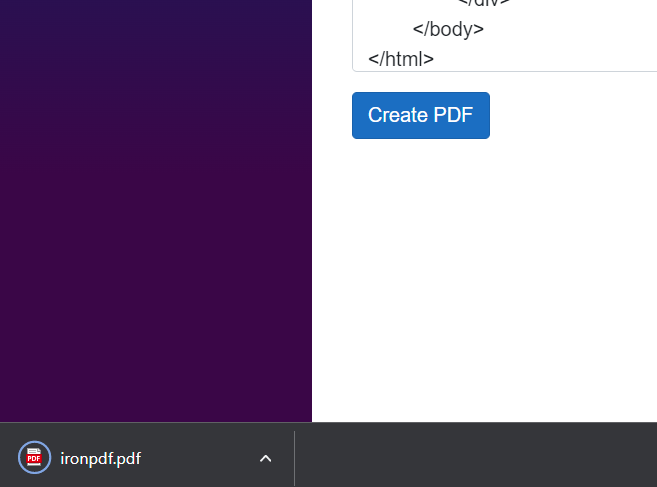
Now run the Blazor App project. You’ll see the output as shown below:

We can write any text in the textarea and hit Create PDF button to generate PDF.
Step 7: Put HTML Code in Textarea
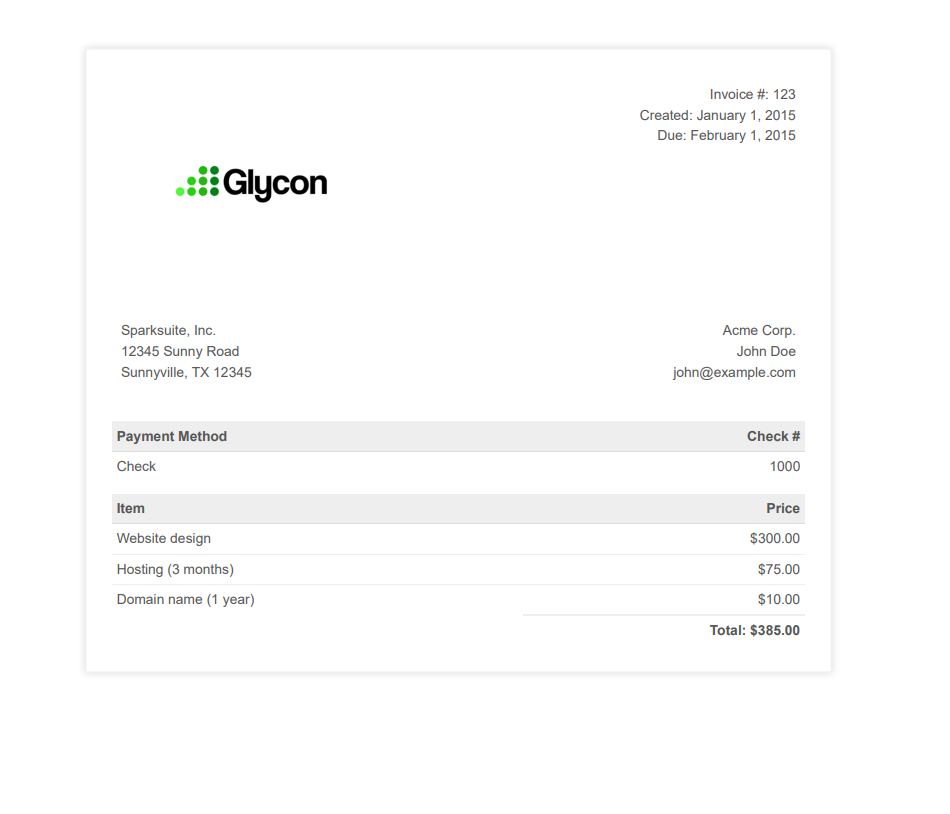
Write the following HTML code in the textarea for converting it into PDF. It is the HTML of an invoice.
<!DOCTYPE html>
<html lang="en">
  <head>
    <meta charset="utf-8" />
    <meta name="viewport" content="width=device-width, initial-scale=1" />

    <title>A simple, clean, and responsive HTML invoice template</title>

    <!-- Favicon -->
    <link rel="icon" href="./images/favicon.png" type="image/x-icon" />

    <!-- Invoice styling -->
    <style>
      body {
        font-family: "Helvetica Neue", "Helvetica", Helvetica, Arial, sans-serif;
        text-align: center;
        color:
      #777;
    }

    body h1 {
      font-weight: 300;
      margin-bottom: 0px;
      padding-bottom: 0px;
      color:
      #000;
    }

    body h3 {
      font-weight: 300;
      margin-top: 10px;
      margin-bottom: 20px;
      font-style: italic;
      color:
      #555;
    }

    body a {
      color: #06f;
    }

    .invoice-box {
      max-width: 800px;
      margin: auto;
      padding: 30px;
      border: 1px solid
      #eee;
      box-shadow: 0 0 10px
      rgba(0, 0, 0, 0.15);
      font-size: 16px;
      line-height: 24px;
      font-family: "Helvetica Neue", "Helvetica", Helvetica, Arial, sans-serif;
      color:
      #555;
    }

    .invoice-box table {
      width: 100%;
      line-height: inherit;
      text-align: left;
      border-collapse: collapse;
    }

    .invoice-box table td {
      padding: 5px;
      vertical-align: top;
    }

    .invoice-box table tr td:nth-child(2) {
      text-align: right;
    }

    .invoice-box table tr.top table td {
      padding-bottom: 20px;
    }

    .invoice-box table tr.top table td.title {
      font-size: 45px;
      line-height: 45px;
      color:
      #333;
    }

    .invoice-box table tr.information table td {
      padding-bottom: 40px;
    }

    .invoice-box table tr.heading td {
      background:
      #eee;
      border-bottom: 1px solid
      #ddd;
      font-weight: bold;
    }

    .invoice-box table tr.details td {
      padding-bottom: 20px;
    }

    .invoice-box table tr.item td {
      border-bottom: 1px solid
      #eee;
    }

    .invoice-box table tr.item.last td {
      border-bottom: none;
    }

    .invoice-box table tr.total td:nth-child(2) {
      border-top: 2px solid
      #eee;
      font-weight: bold;
    }

    @media only screen and (max-width: 600px) {
      .invoice-box table tr.top table td {
      width: 100%;
      display: block;
      text-align: center;
    }

    .invoice-box table tr.information table td {
      width: 100%;
      display: block;
      text-align: center;
    }
  }
</style>
</head>

<body>
  <div class="invoice-box">
    <table>
      <tr class="top">
        <td colspan="2">
          <table>
            <tr>
              <td class="title">
                <img
                  src="https://cdn.logojoy.com/wp-content/uploads/2018/05/01104800/1050-768x591.png"
                  alt="Company logo"
                  style="width: 100%; max-width: 300px"
                />
              </td>

              <td>
                Invoice #: 123<br />
                Created: January 1, 2015<br />
                Due: February 1, 2015
              </td>
            </tr>
          </table>
        </td>
      </tr>

      <tr class="information">
        <td colspan="2">
          <table>
            <tr>
              <td>
                Sparksuite, Inc.<br />
                12345 Sunny Road<br />
                Sunnyville, TX 12345
              </td>

              <td>
                Acme Corp.<br />
                John Doe<br />
                [email protected]
              </td>
            </tr>
          </table>
        </td>
      </tr>

      <tr class="heading">
        <td>Payment Method</td>

        <td>Check #</td>
      </tr>

      <tr class="details">
        <td>Check</td>

        <td>1000</td>
      </tr>

      <tr class="heading">
        <td>Item</td>

        <td>Price</td>
      </tr>

      <tr class="item">
        <td>Website design</td>

        <td>$300.00</td>
      </tr>

      <tr class="item">
        <td>Hosting (3 months)</td>

        <td>$75.00</td>
      </tr>

      <tr class="item last">
        <td>Domain name (1 year)</td>

        <td>$10.00</td>
      </tr>

      <tr class="total">
        <td></td>

        <td>Total: $385.00</td>
      </tr>
     </table>
   </div>
 </body>
</html>
After writing the code, hit the “Create PDF” button.
You will see that the PDF file with the name “ironpdf.pdf” will be downloaded to your computer via the browser – directly from the Blazor App.
Step 8: Open PDF File
Now, open the PDF file. You’ll see the following output. IronPDF generates excellent PDFs and preserves every detail and styling.
Conclusion
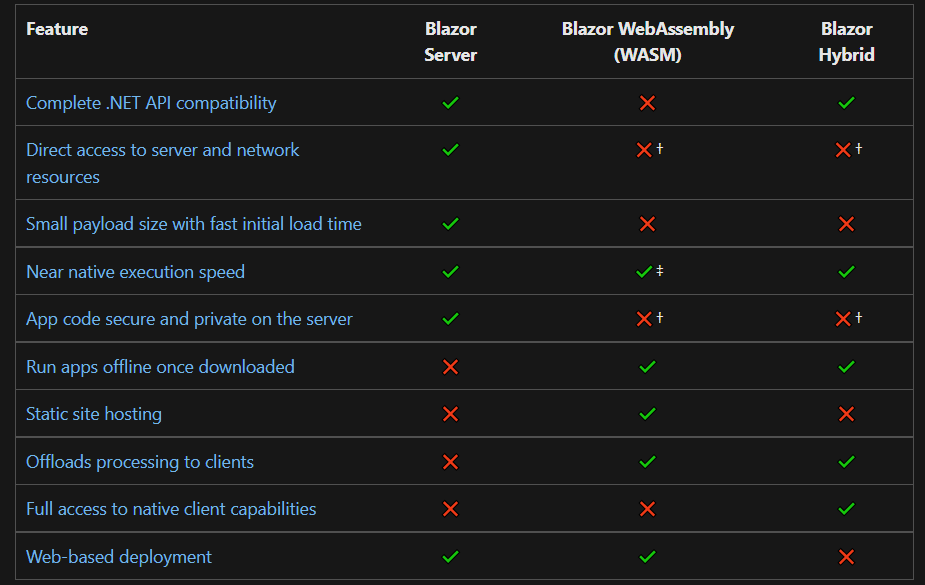
Blazor Server has many advantages. The download size is very less and the app loads very fast. It can take advantage of server capabilities e.g. use of .NET core APIs. For some browsers that don’t support WebAssembly, Blazor Server works with these browsers very well.
But Blazor Apps have some limitations like it requires ASP.NET Core Server. So, Serverless deployment scenarios are not applicable. Here is the chart so you can understand the benefits and disadvantages of each model easily.
IronPDF is a very useful library which supports every type of project in .NET (including Framework, Core and .NET 5-7). It doesn’t require any external library to support it, making it ideal for the development of your next Blazor App.


Andriy Kravets is writer and experience .NET developer and like .NET for regular development. He likes to build cross-platform libraries/software with .NET.

