Introduction
What is a Worker Service? It’s an ASP.NET Core template that allows you to create hosted long-running background services. These background services implement the IHostedService interface, so they are called “hosted services”. What is interesting is that dependency injection is available natively, which was not the case with a Windows Service created with TopShelf. They can be deployed as a Windows service but also Linux daemons. In this article we will see how to create and deploy a Worker Service as a Windows Service.
Create a Worker Service
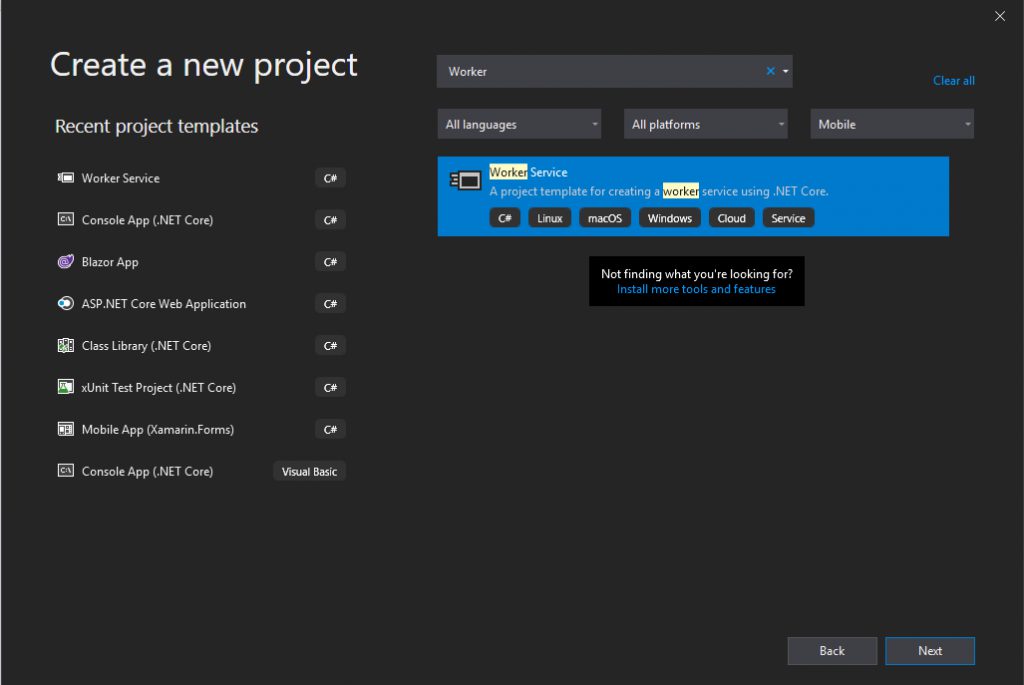
To create a Worker Service, select in Visual Studio 2019 Worker Service then the desired version of ASP.NET Core (you can use the lastest ASP.NET Core 6).
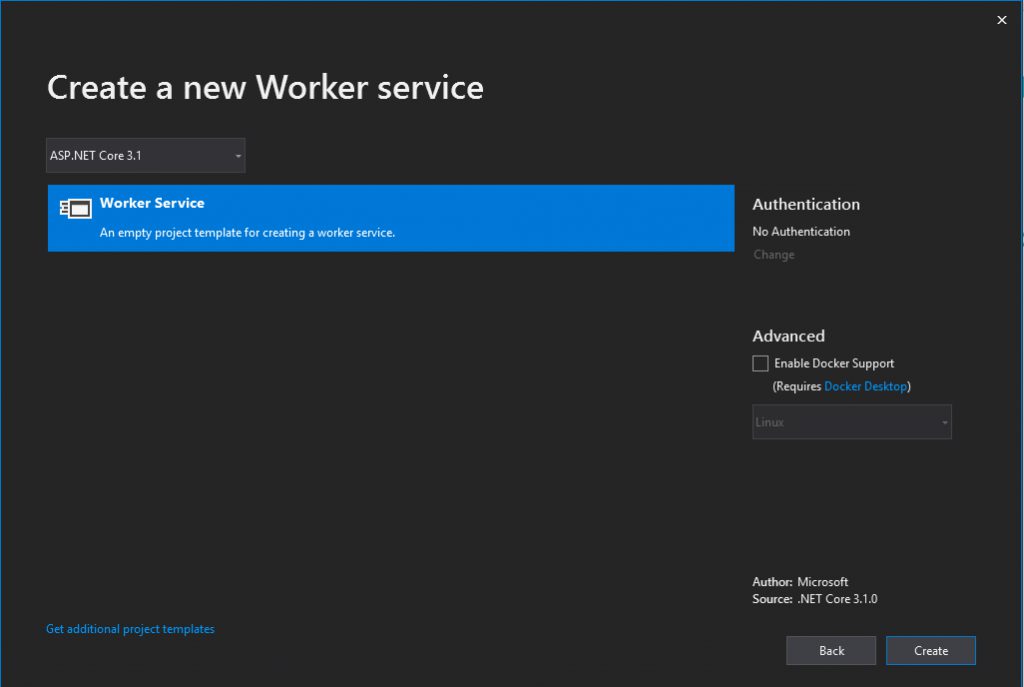
The default template looks like this:
Program.cs:
using System;
using System.Collections.Generic;
using System.Linq;
using System.Threading.Tasks;
using Microsoft.Extensions.DependencyInjection;
using Microsoft.Extensions.Hosting;

namespace WorkerService1
{
    public class Program
    {
        public static void Main(string[] args)
        {
            CreateHostBuilder(args).Build().Run();
        }

        public static IHostBuilder CreateHostBuilder(string[] args) =>
            Host.CreateDefaultBuilder(args)
                .ConfigureServices((hostContext, services) =>
                {
                    services.AddHostedService<Worker>();
                });
    }
}
Worker.cs:
using System;
using System.Collections.Generic;
using System.Linq;
using System.Threading;
using System.Threading.Tasks;
using Microsoft.Extensions.Hosting;
using Microsoft.Extensions.Logging;

namespace WorkerService
{
    public class Worker : BackgroundService
    {
        private readonly ILogger<Worker> _logger;

        public Worker(ILogger<Worker> logger)
        {
            _logger = logger;
        }

        protected override async Task ExecuteAsync(CancellationToken stoppingToken)
        {
            while (!stoppingToken.IsCancellationRequested)
            {
                _logger.LogInformation("Worker running at: {time}", DateTimeOffset.Now);
                await Task.Delay(1000, stoppingToken);
            }
        }
    }
}
appsettings.json:
{
  "Logging": {
    "LogLevel": {
      "Default": "Information",
      "Microsoft": "Warning",
      "Microsoft.Hosting.Lifetime": "Information"
    }
  }
}
As you can see, this is very basic. This template doen’t implement all BackgroundService methods, StartAsync, StopAsync and Dispose are missing. Your new Worker Service should look like this:
using Microsoft.Extensions.Hosting;
using Microsoft.Extensions.Logging;
using System;
using System.Threading;
using System.Threading.Tasks;

namespace WorkerService
{
    public class Worker : BackgroundService
    {
        private readonly ILogger<Worker> _logger;

        public Worker(ILogger<Worker> logger)
        {
            _logger = logger;
        }

        public override async Task StartAsync(CancellationToken cancellationToken)
        {
            // DO YOUR STUFF HERE
            await base.StartAsync(cancellationToken);
        }

        public override async Task StopAsync(CancellationToken cancellationToken)
        {
            // DO YOUR STUFF HERE
            await base.StopAsync(cancellationToken);
        }

        protected override async Task ExecuteAsync(CancellationToken stoppingToken)
        {
            while (!stoppingToken.IsCancellationRequested)
            {
                _logger.LogInformation("Worker running at: {time}", DateTimeOffset.Now);
                await Task.Delay(1000, stoppingToken);
            }
        }

        public override void Dispose()
        {
            // DO YOUR STUFF HERE
        }
    }
}
Deploy a Worker Service as a Windows service
First thing to do is to install this package, because it’s not installed by default in the ASP.NET Core 3 Worker Service template:

Once done add UseWindowsService extension method on IHostBuilder like this:
using Microsoft.Extensions.DependencyInjection;
using Microsoft.Extensions.Hosting;

namespace DemoWorkerService
{
    public class Program
    {
        public static void Main(string[] args)
        {
            CreateHostBuilder(args).Build().Run();
        }

        public static IHostBuilder CreateHostBuilder(string[] args) =>
            Host.CreateDefaultBuilder(args)
                .UseWindowsService()
                .ConfigureServices((hostContext, services) =>
                {
                    services.AddHostedService<TimedWorker>();
                });
    }
}
Your project is now ready to deploy.
Let’s see now how we can deploy you Windows Service.
In this series of example the Windows service will take the name of the Worker Service class
There are two ways:
- Using sc.exe Tool
- Publishing an exe file
Step 1: Publish the Worker service
cd "Path to the Worker service project"
dotnet restore
dotnet publish -o PathToThePublishFolder
Step 2: Deploy and start with sc utility
sc.exe create DemoWorker binpath= PathToThePublishFolder\YourWorkerClassName.exe
sc.exe start YourWorkerClassName
Step 3: Stop and delete with sc utility
sc.exe stop YourWorkerClassName
sc.exe delete YourWorkerClassName


Andriy Kravets is writer and experience .NET developer and like .NET for regular development. He likes to build cross-platform libraries/software with .NET.