ReactJS is a declarative, efficient, and flexible JavaScript library for building reusable UI components. It is an open-source, component-based front-end library which is responsible only for the view layer of the application. It was initially developed and maintained by Facebook and later used in its products like WhatsApp & Instagram.
What is Single Page Application (SPA) in React Js?
A Single Page Application (SPA) is a web application that is designed to be displayed as a single, static page.
This approach makes the application more user-friendly and easier to navigate, as users can see the entire application at once.
Following are the steps to create and deploy on IIS Server?
- Install Node Js
- Install any IDE to write your React JS code (Visual Code, eclipse, etc)
- Create your React JS project by typing this command in your terminal: npx create-react-app appname
- After creating project, for deployment type this command in your terminal: npm run build
- After typing above command one build file will be created, On IIS Server just select that folder as your path as deploy your project
Let’s Use Following steps to create and host our react application on IIS Server
1. Install Node JS on your machine
-
- To install Node Js one can visit it’s official website i.e. https://nodejs.org/en/
- Check if node is installed on your machine using following command in cmd

-
- The node installation also come with a package manager called npm (Node Package Manager) that will use to install 3rd party libraries.
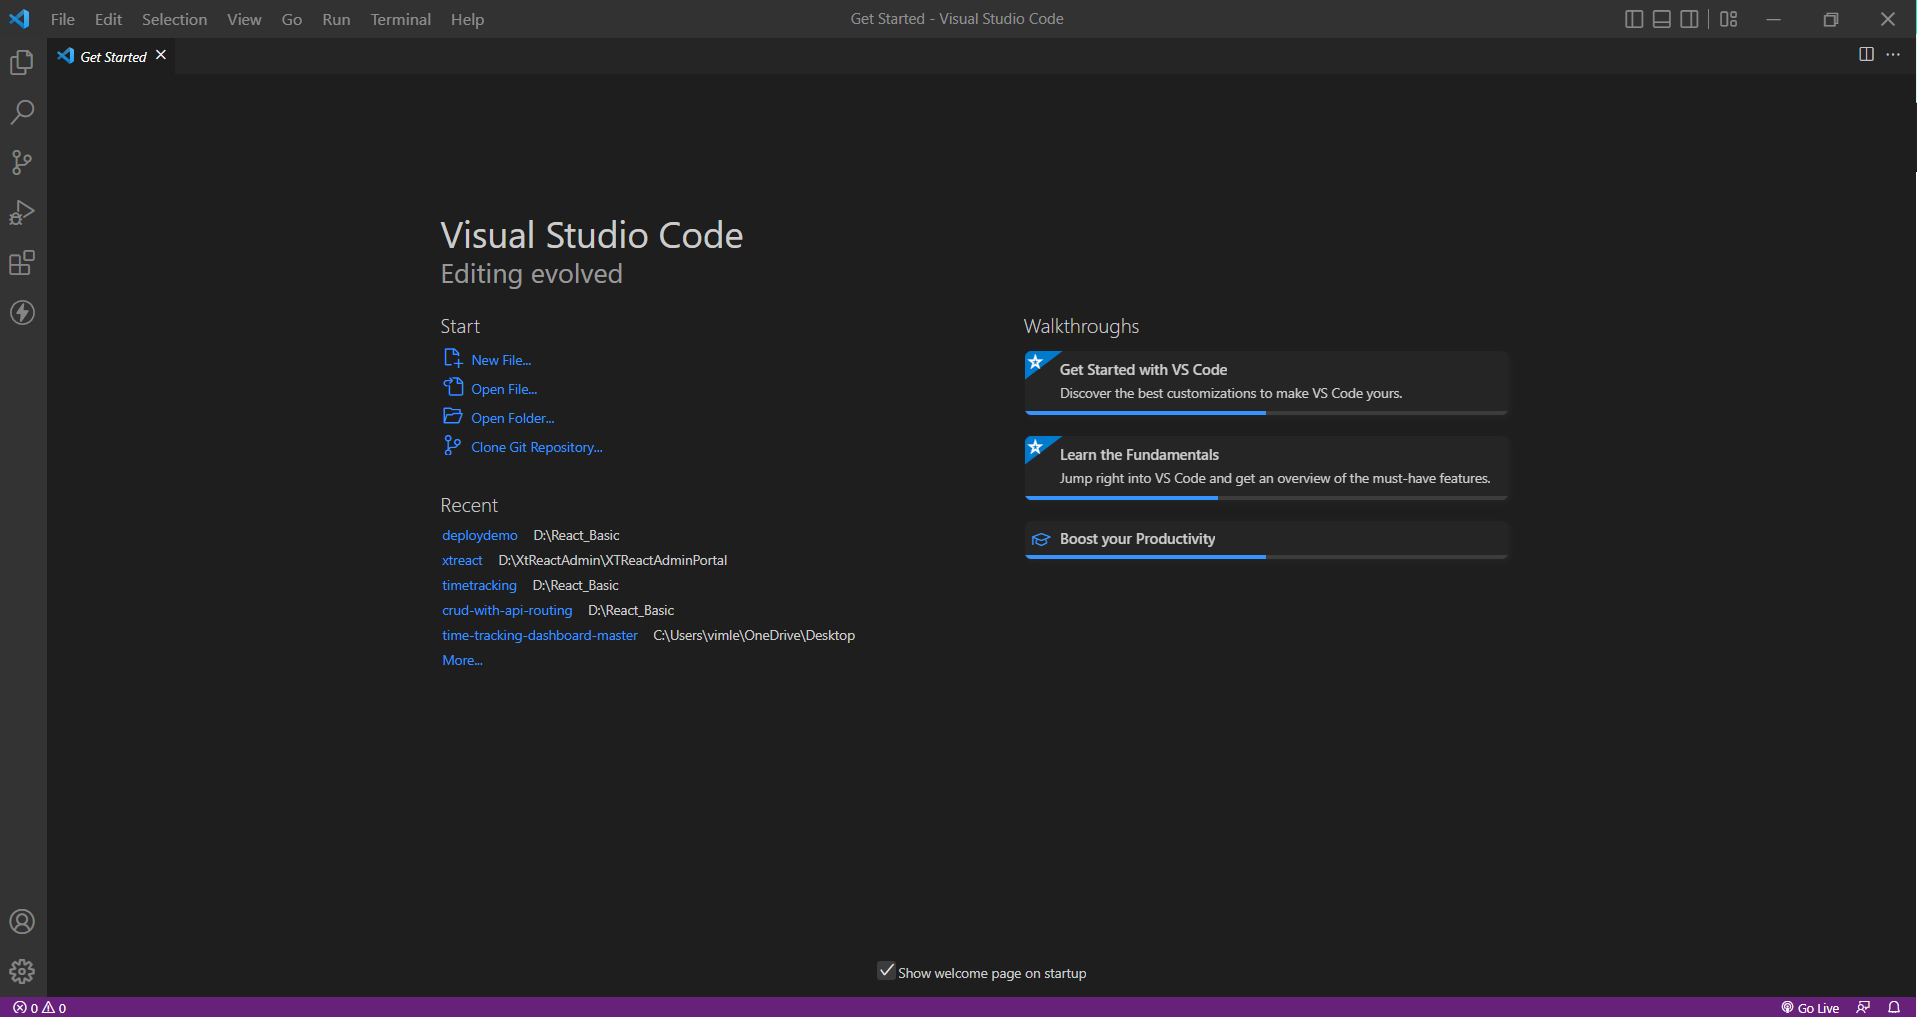
2. Install Visual Studio Code on your machine
- The To install visual studio code one can visit it’s official site i.e. https://code.visualstudio.com/
Reason to use Visual Studio Code:
- Visual Studio Code, also commonly referred to as VS Code, is a source-code editor made by Microsoft with the Electron Framework, for Windows, Linux and macOS. Features include support for debugging, syntax highlighting, intelligent code completion, snippets, code refactoring, and embedded Git.
3. Create your Simple React JS application
Open your visual studio code and in that visual code open terminal.
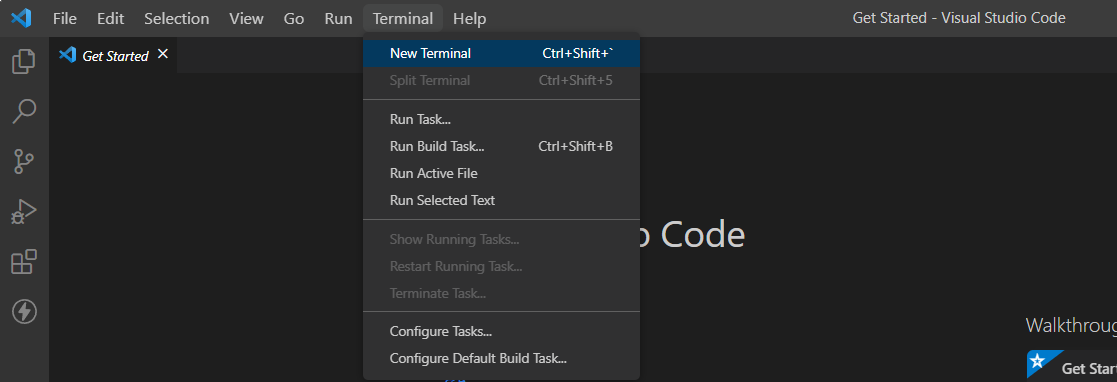
Type command npx create-react-app testing and hit the enter and your application will start creating.

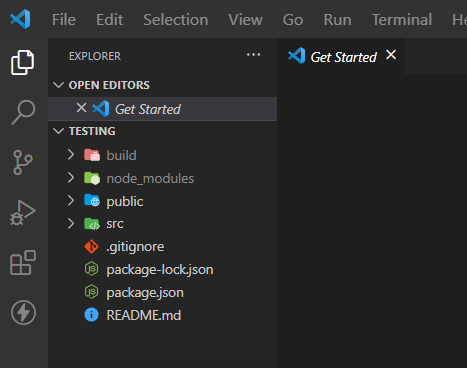
Below is our project file structure.
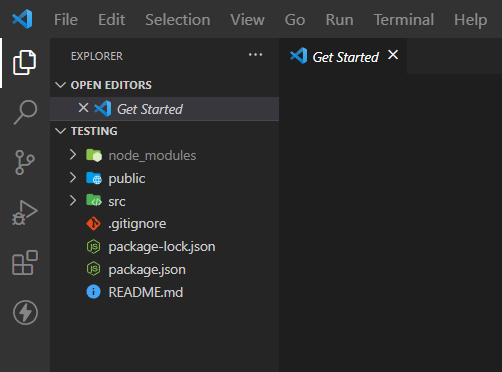
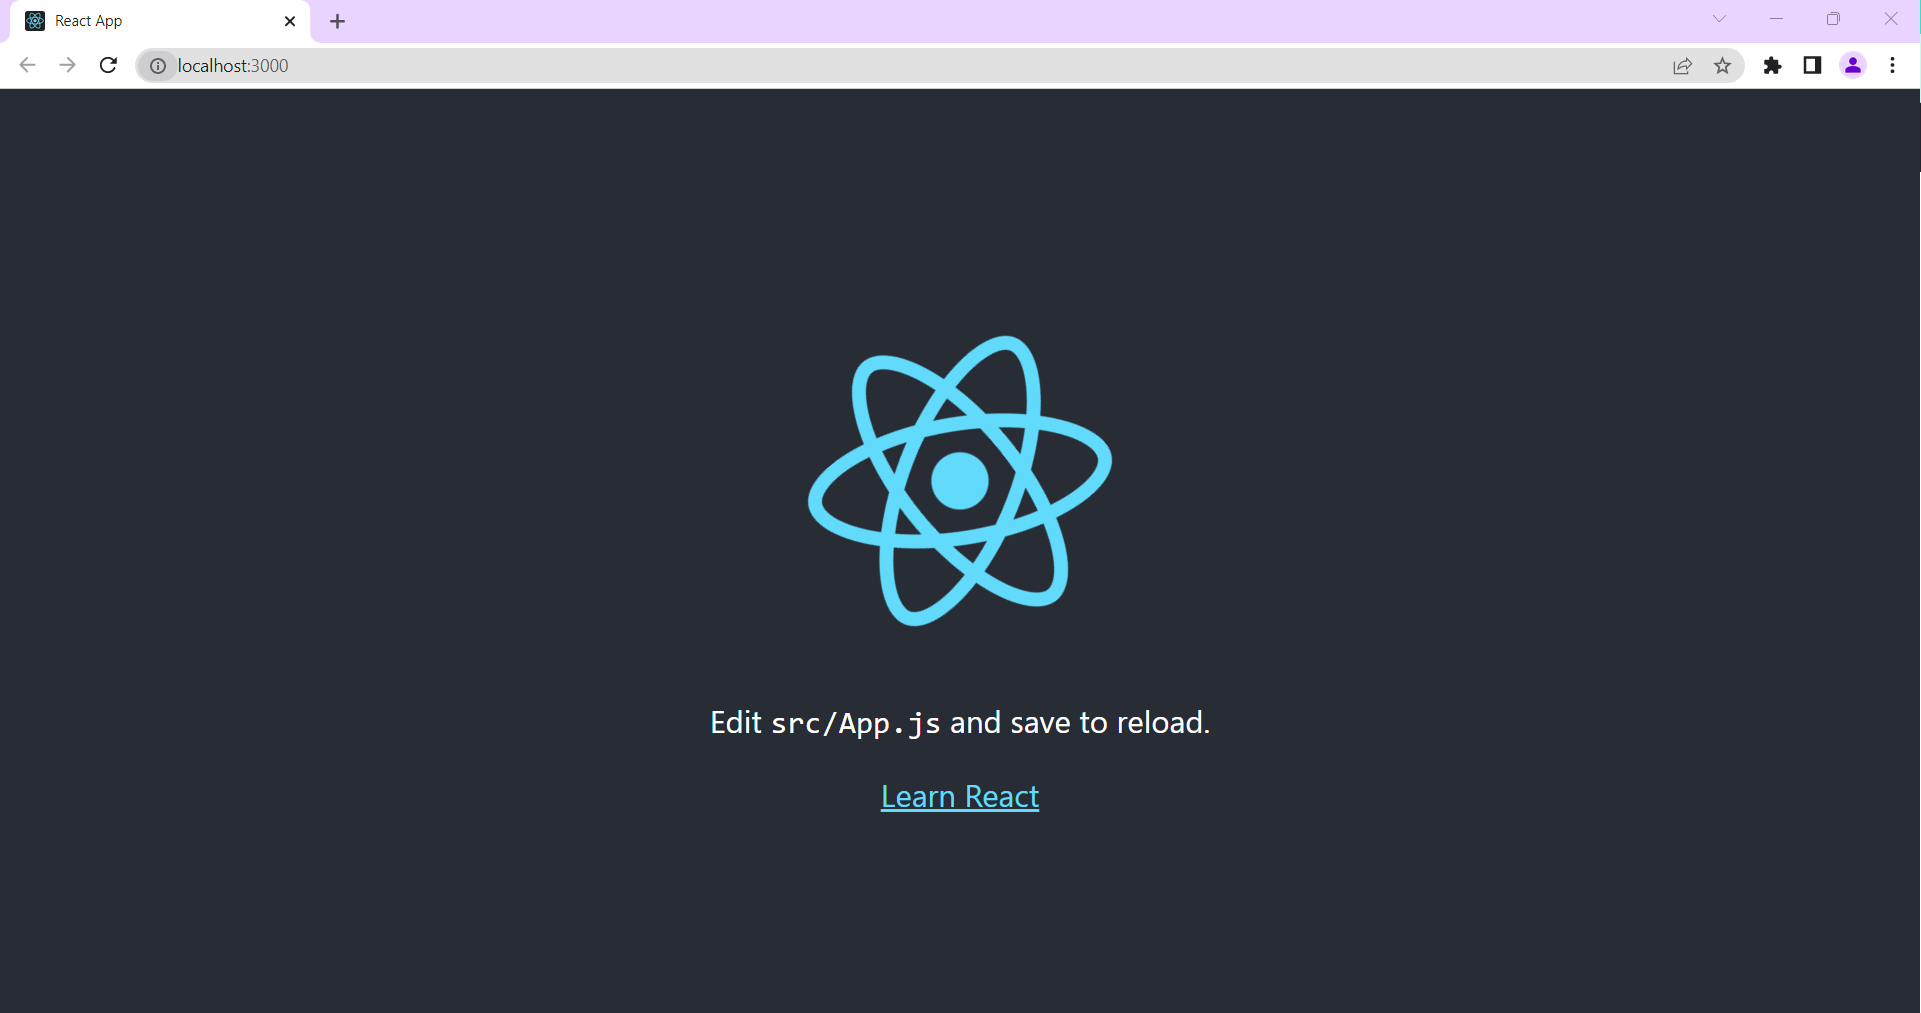
To run this application just type npm run start in your terminal and your application will be started and you can see it on your browser.

By default our application will run on 3000 port as show below:
4. Create production build of your react application
To host our application on IIS Server , firstly we have to build our application by typing following command in your visual studio terminal i.e. npm run build
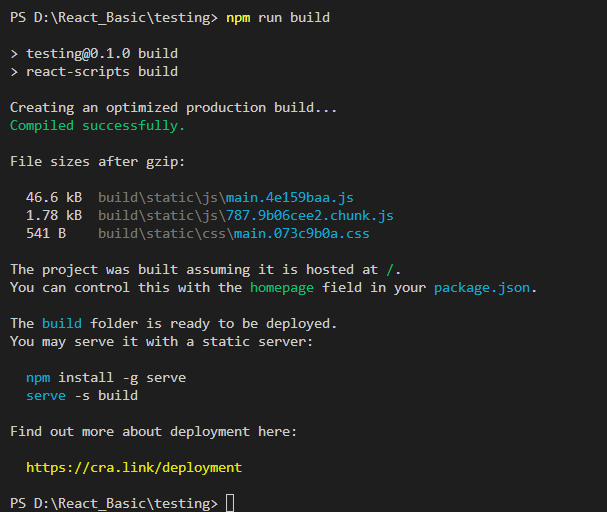
A build folder will be created, by using this folder we will host our application on IIS Server.
5. Hosting application on IIS Server
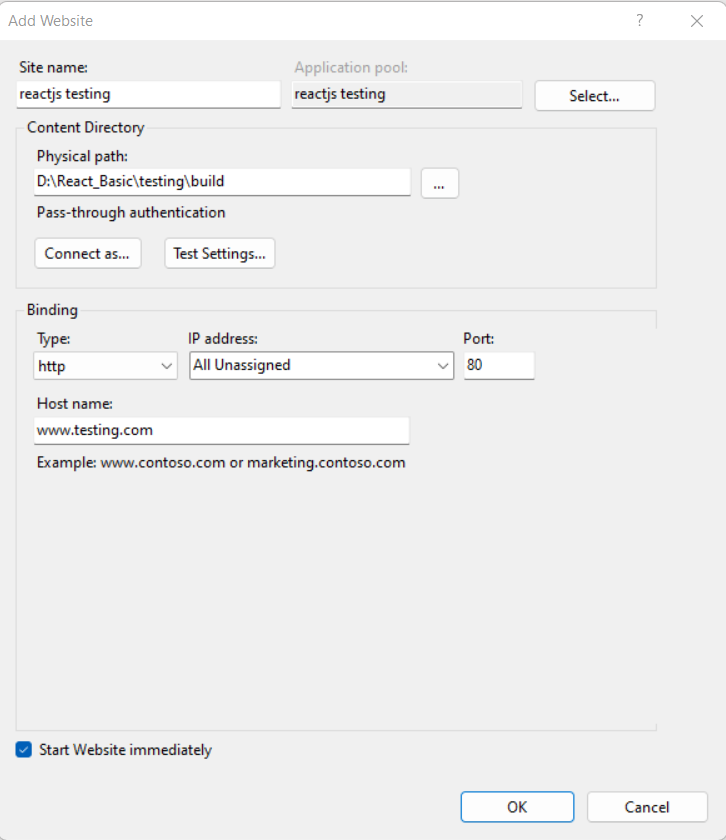
Open your IIS Server and click on Add Website
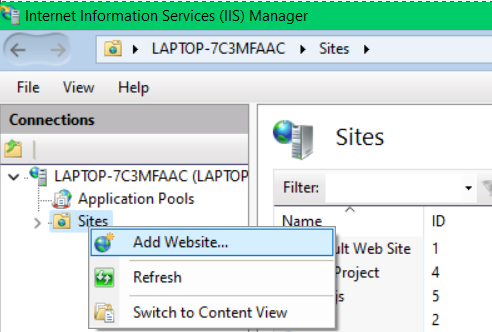
After that, add your site name and also the path i.e., the build folder created in your application.
To run host name on browser you have to add the host name with 127.0.0.1 in the following path i.e., C:\Windows\System32\drivers\etc\host
127.0.0.1 www.testing.com
Add your Host name as shown below.
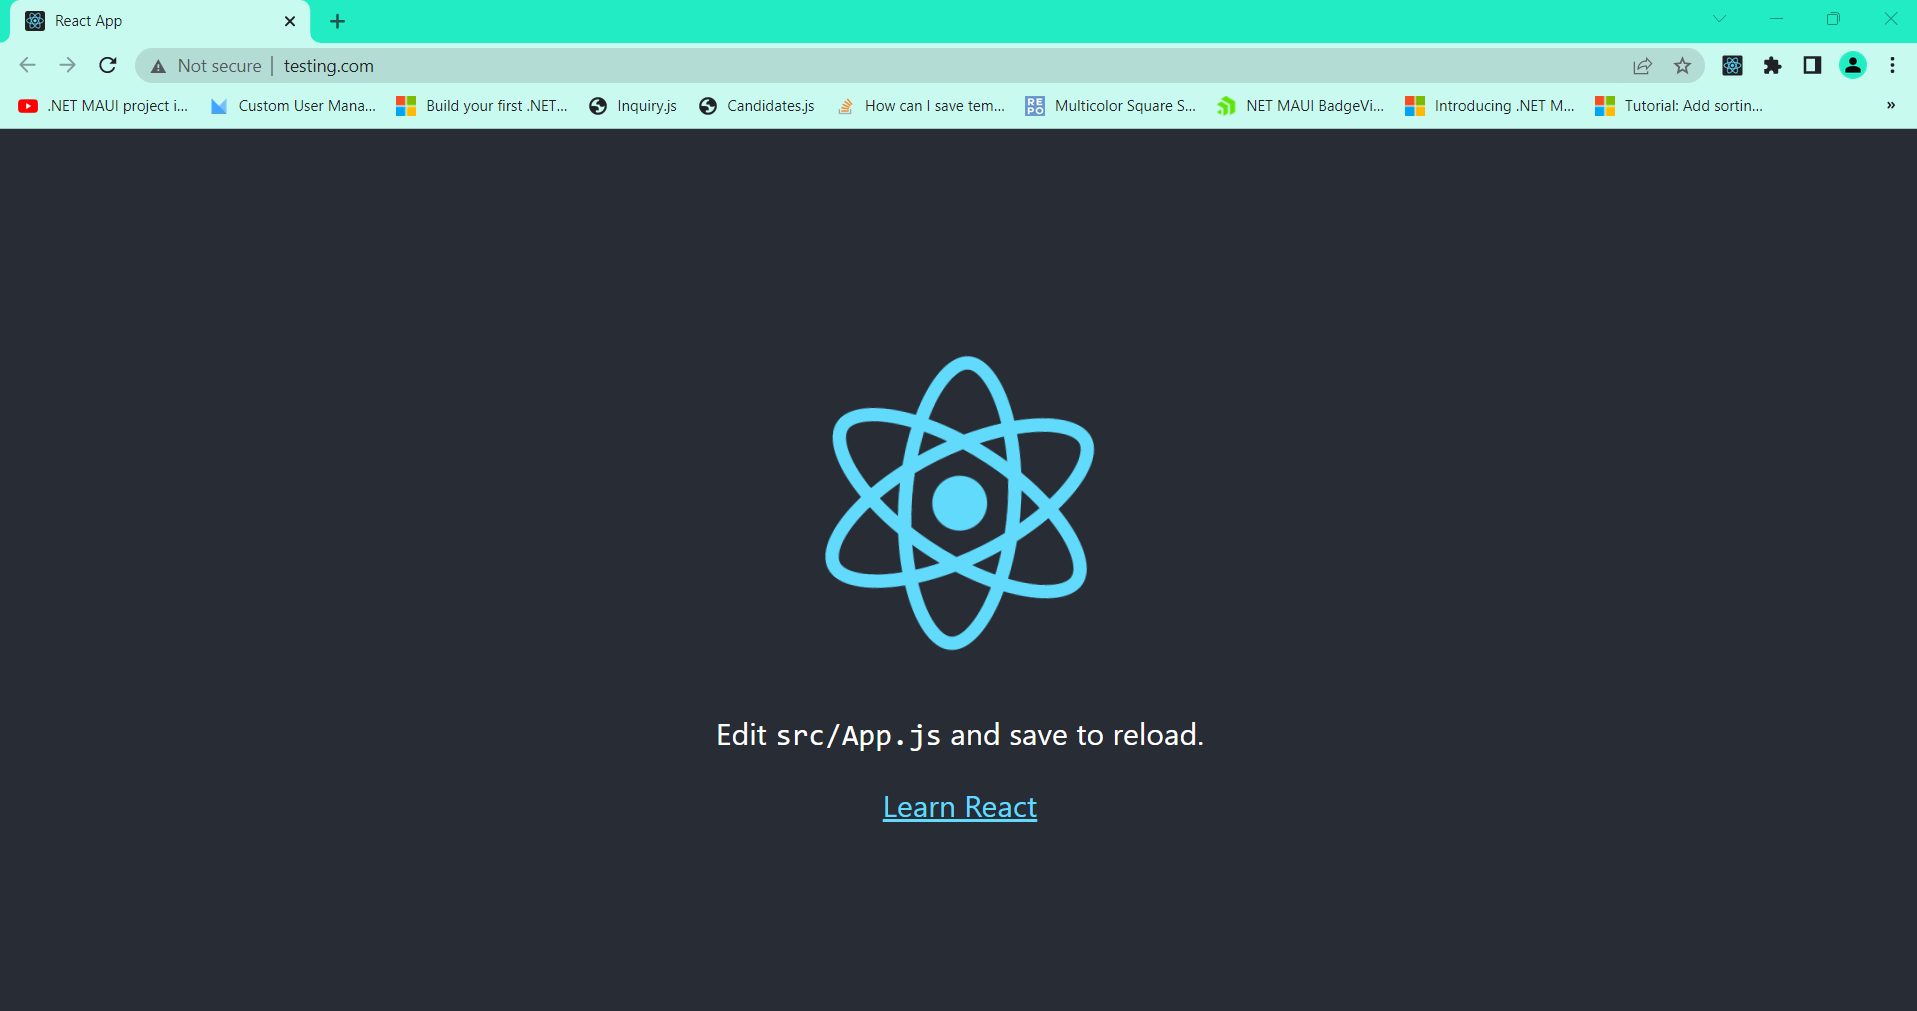
To run your website on browser just type the URL (www.testing.com) and your website will run on your hosted host name .
Conclusion
Now, you have learned how to host React JS on IIS and hope tutorial above can bring insight for you. If you have any questions, please feel free to comment below and please also feel free to share this article.
If you are looking to host your React JS website, you can visit our site at https://www.asphostportal.com. We do support React JS on our hosting environment. Our fully featured hosting already includes
- Easy setup
- 24/7/365 technical support
- Top level speed and security
- Super cache server performance to increase your website speed
- Top 9 data centers across the world that you can choose.

Yury Sobolev is Full Stack Software Developer by passion and profession working on Microsoft ASP.NET Core. Also he has hands-on experience on working with Angular, Backbone, React, ASP.NET Core Web API, Restful Web Services, WCF, SQL Server.


