.NET applications can now be deployed in a Windows Docker container thanks to the advancement of container technology, making it simple to reuse the image and container. Here, I’ll describe how to use Docker for Windows to deploy a .net web application. You can use this as practice guidance. We will test to deploy Asp.net 4.5 here.
An asp.net website can be deployed using Docker for Windows in the following steps:
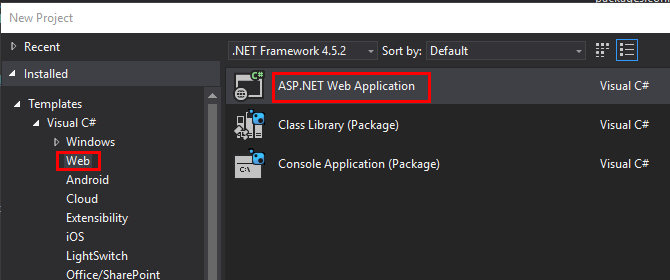
1. Create a simple asp.net web application
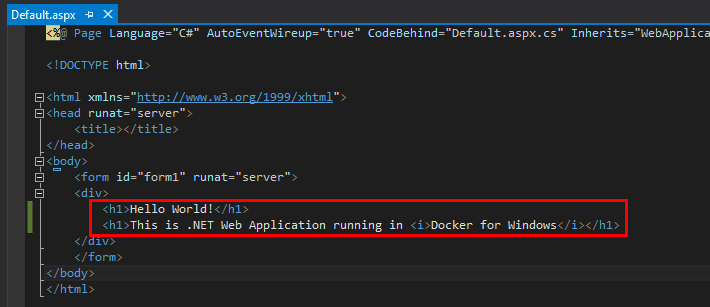
Add a sample description to the page that we can view in the browser later.
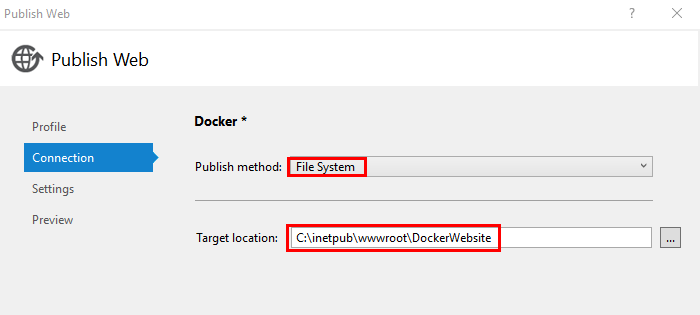
Publish the project to your local folder, which we will deploy to Docker in the following steps.
Now we are ready to deploy the sample website to the Docker container.
2. Pull the Docker image.
There are several ways to obtain the image. Based on the Microsoft base image microsoft/windowsservercore, you can create a new image. As an alternative, you can use the Docker command to search the current images:

Here, I am going to use the official image microsoft/aspnet:
![]()
To make sure the image was on your local, please use the command “docker images”.

3. Create Docker image
You can now use the dockerfile and command listed below to create the site image using the copied application files that you previously published. Create a new file with the name “dockerfile” but no extension, then paste the following configuration into the file.

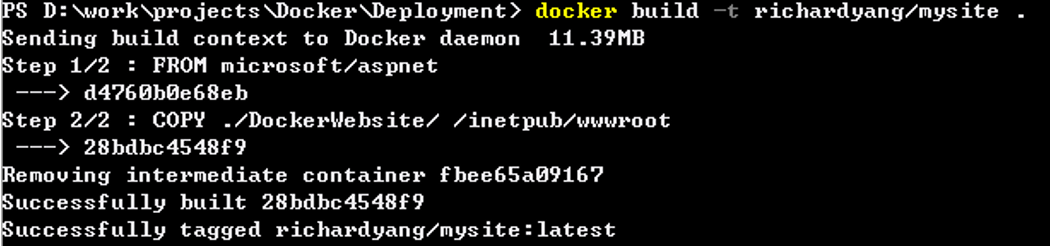
Run the following docker command to create the image.
![]()
The dockerfile specified two steps: the first is building a docker image based on Microsoft/AspNet, and the second is copying files from the host to the intermediate docker container.
Once your site image was created successfully, use command “docker images” to verify it.
4. Create and run the container
With the specified IP address and container name, create and run a new container. To specify the IP address when creating the container, we must first locate the available network.

Run docker command:
docker run –network=aspnetweb_default -itd –ip=172.20.107.229 –name=mysite hellodocker/mysite
Check that the new docker container was created and ran successfully.
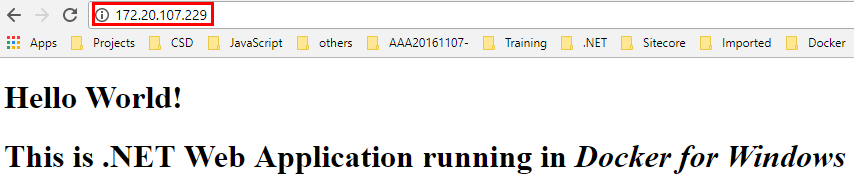
5. Finished
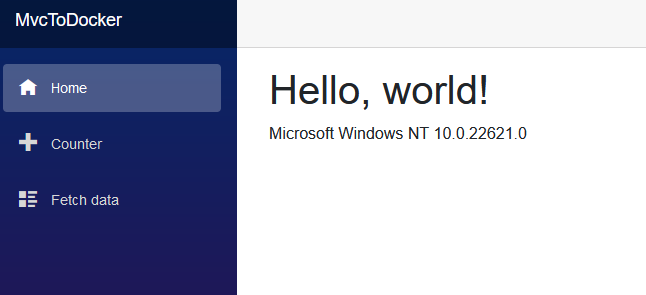
Now you can access your website with the IP address 172.10.107.229 in your browser.
Conclusion
Above article is only simple tutorial to publish docker in Windows environment.
If you are looking for fast and secure ASP.NET hosting, you can visit our site at https://www.asphostportal.com. Our fully featured hosting already includes
- Easy setup
- 24/7/365 technical support
- Top level speed and security
- Super cache server performance to increase your website speed
- Top 9 data centers across the world that you can choose.


Javier is Content Specialist and also .NET developer. He writes helpful guides and articles, assist with other marketing and .NET community work